LSI 9211-8i HBA/RAID card & Noctua fan is NOT included, only the shroud + screws are for sale!
If you want the shroud with fans included, please see my store page!
I cannot grantee fitment for counterfeit cards!
Please see the universal cooler on my store for compatibility with all genuine and counterfeit cards!
Details:
Compatible with 40mm fans, guaranteed fitment with Noctua NF-A4x10.
4 standard PC case fan screws included (M5 x 10 mm).
3D printed with polycarbonate (PC) plastic to withstand high heat environments without deforming.
1.75 slots are used (card + shroud + 10 mm fan).
Shroud fan screw holes are spaced 32 mm apart from the center of each hole.
Shroud fits snugly onto the cards PCB, some force is required to attach (see instructions below & video).
Instructions:
Place shroud over heatsink.
Clip on the 2 clips on the side with the PCIe slot first.
Apply lateral pressure at the top of the shroud, pushing the shroud towards the other side.
The remaining 2 clips will make an audible click when they engage over the PCB.
About:

 Image 1 of 6
 Image 2 of 6
 Image 3 of 6
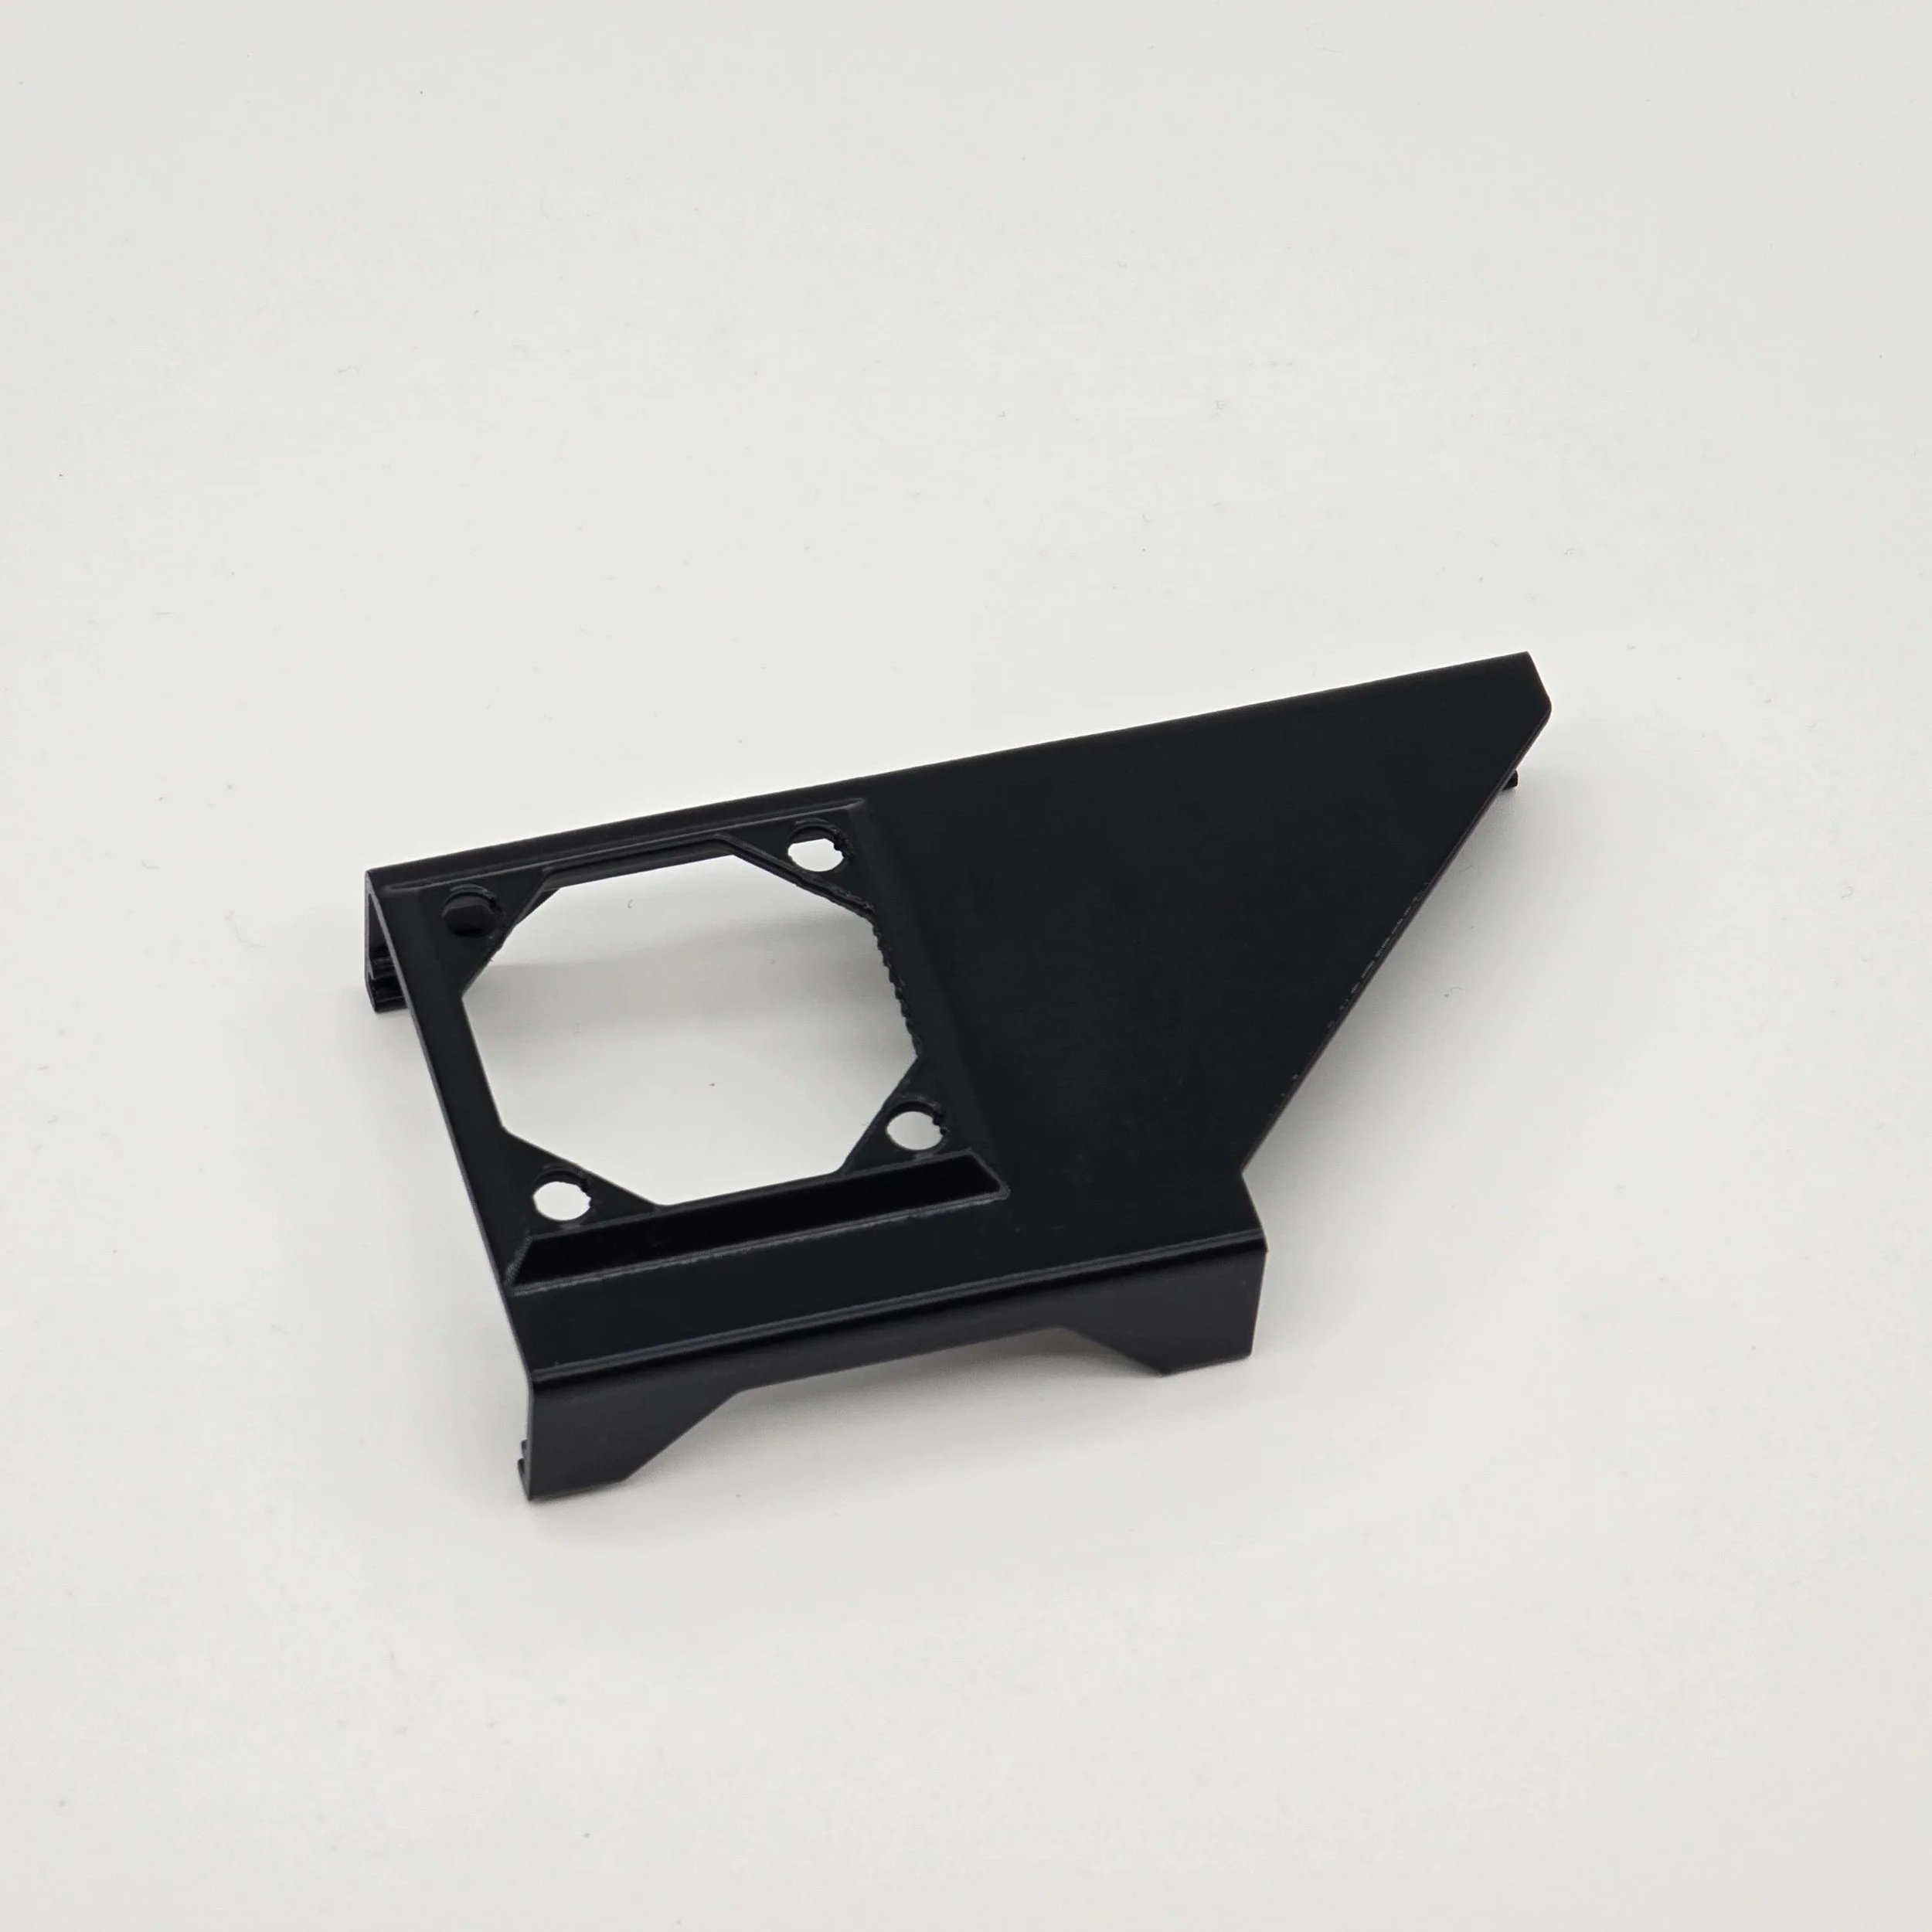 Image 4 of 6
 Image 5 of 6
 Image 6 of 6