LSI 9211-8i HBA/RAID card is NOT included, only the fan + shroud are for sale!
Please see my store for the Noctua 40 mm fan mount variant!
I cannot grantee fitment for counterfeit cards!
Please see the universal cooler on my store for compatibility with all genuine and counterfeit cards!
Details:
3D printed with polycarbonate (PC) plastic to withstand high heat environments without deforming.
1.75 slots are used (card + shroud + fan).
40 mm fan included with silent oil lubricated sleeve bearing.
Shroud fan screw holes are spaced 32 mm apart from the center of each hole.
Fan is bolted onto the shroud using 4 M3 x 12 mm hex steel machine screws and nuts.
Shroud fits snugly onto the cards PCB, some force is required to attach (see instructions below & video).
Standard desktop 3-pin fan header (in BIOS, use DC mode to control RPM speed not PWM).
Instructions:
Place shroud over heatsink.
Clip on the 2 clips on the side with the PCIe slot first.
Apply lateral pressure at the top of the shroud, pushing the shroud towards the other side.
The remaining 2 clips will make an audible click when they engage over the PCB.
About:

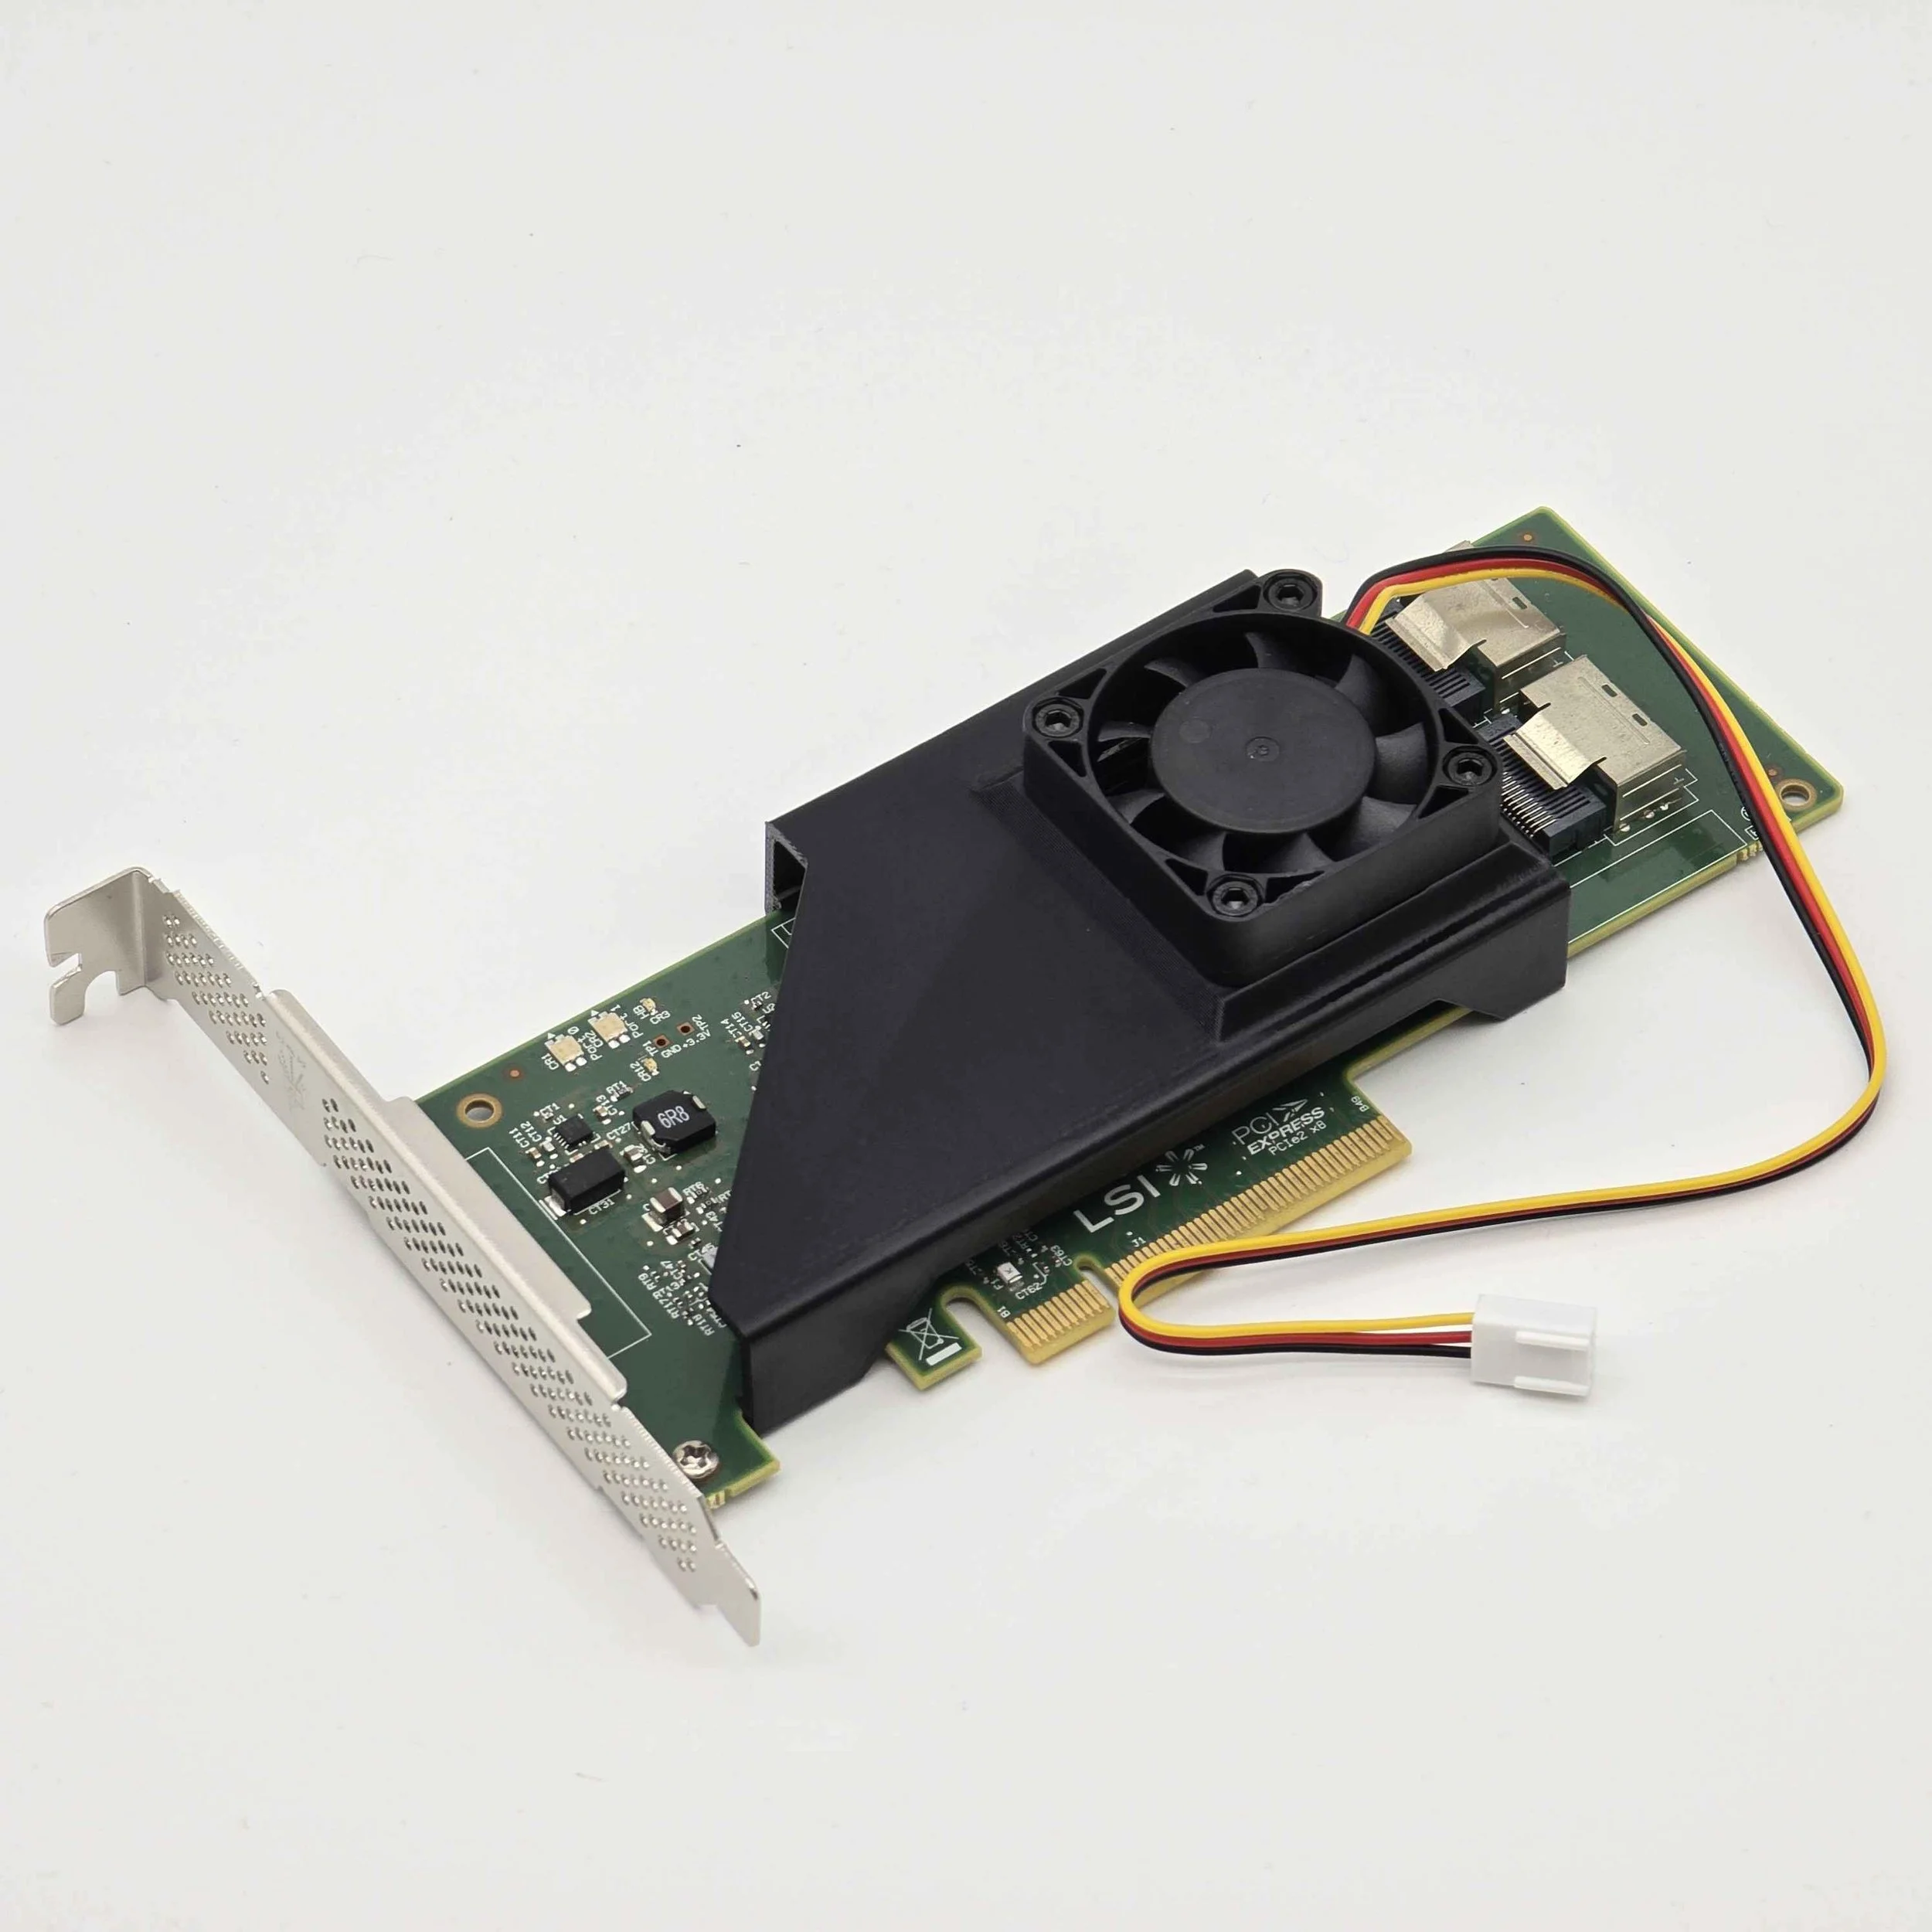 Image 1 of 7
 Image 2 of 7
 Image 3 of 7
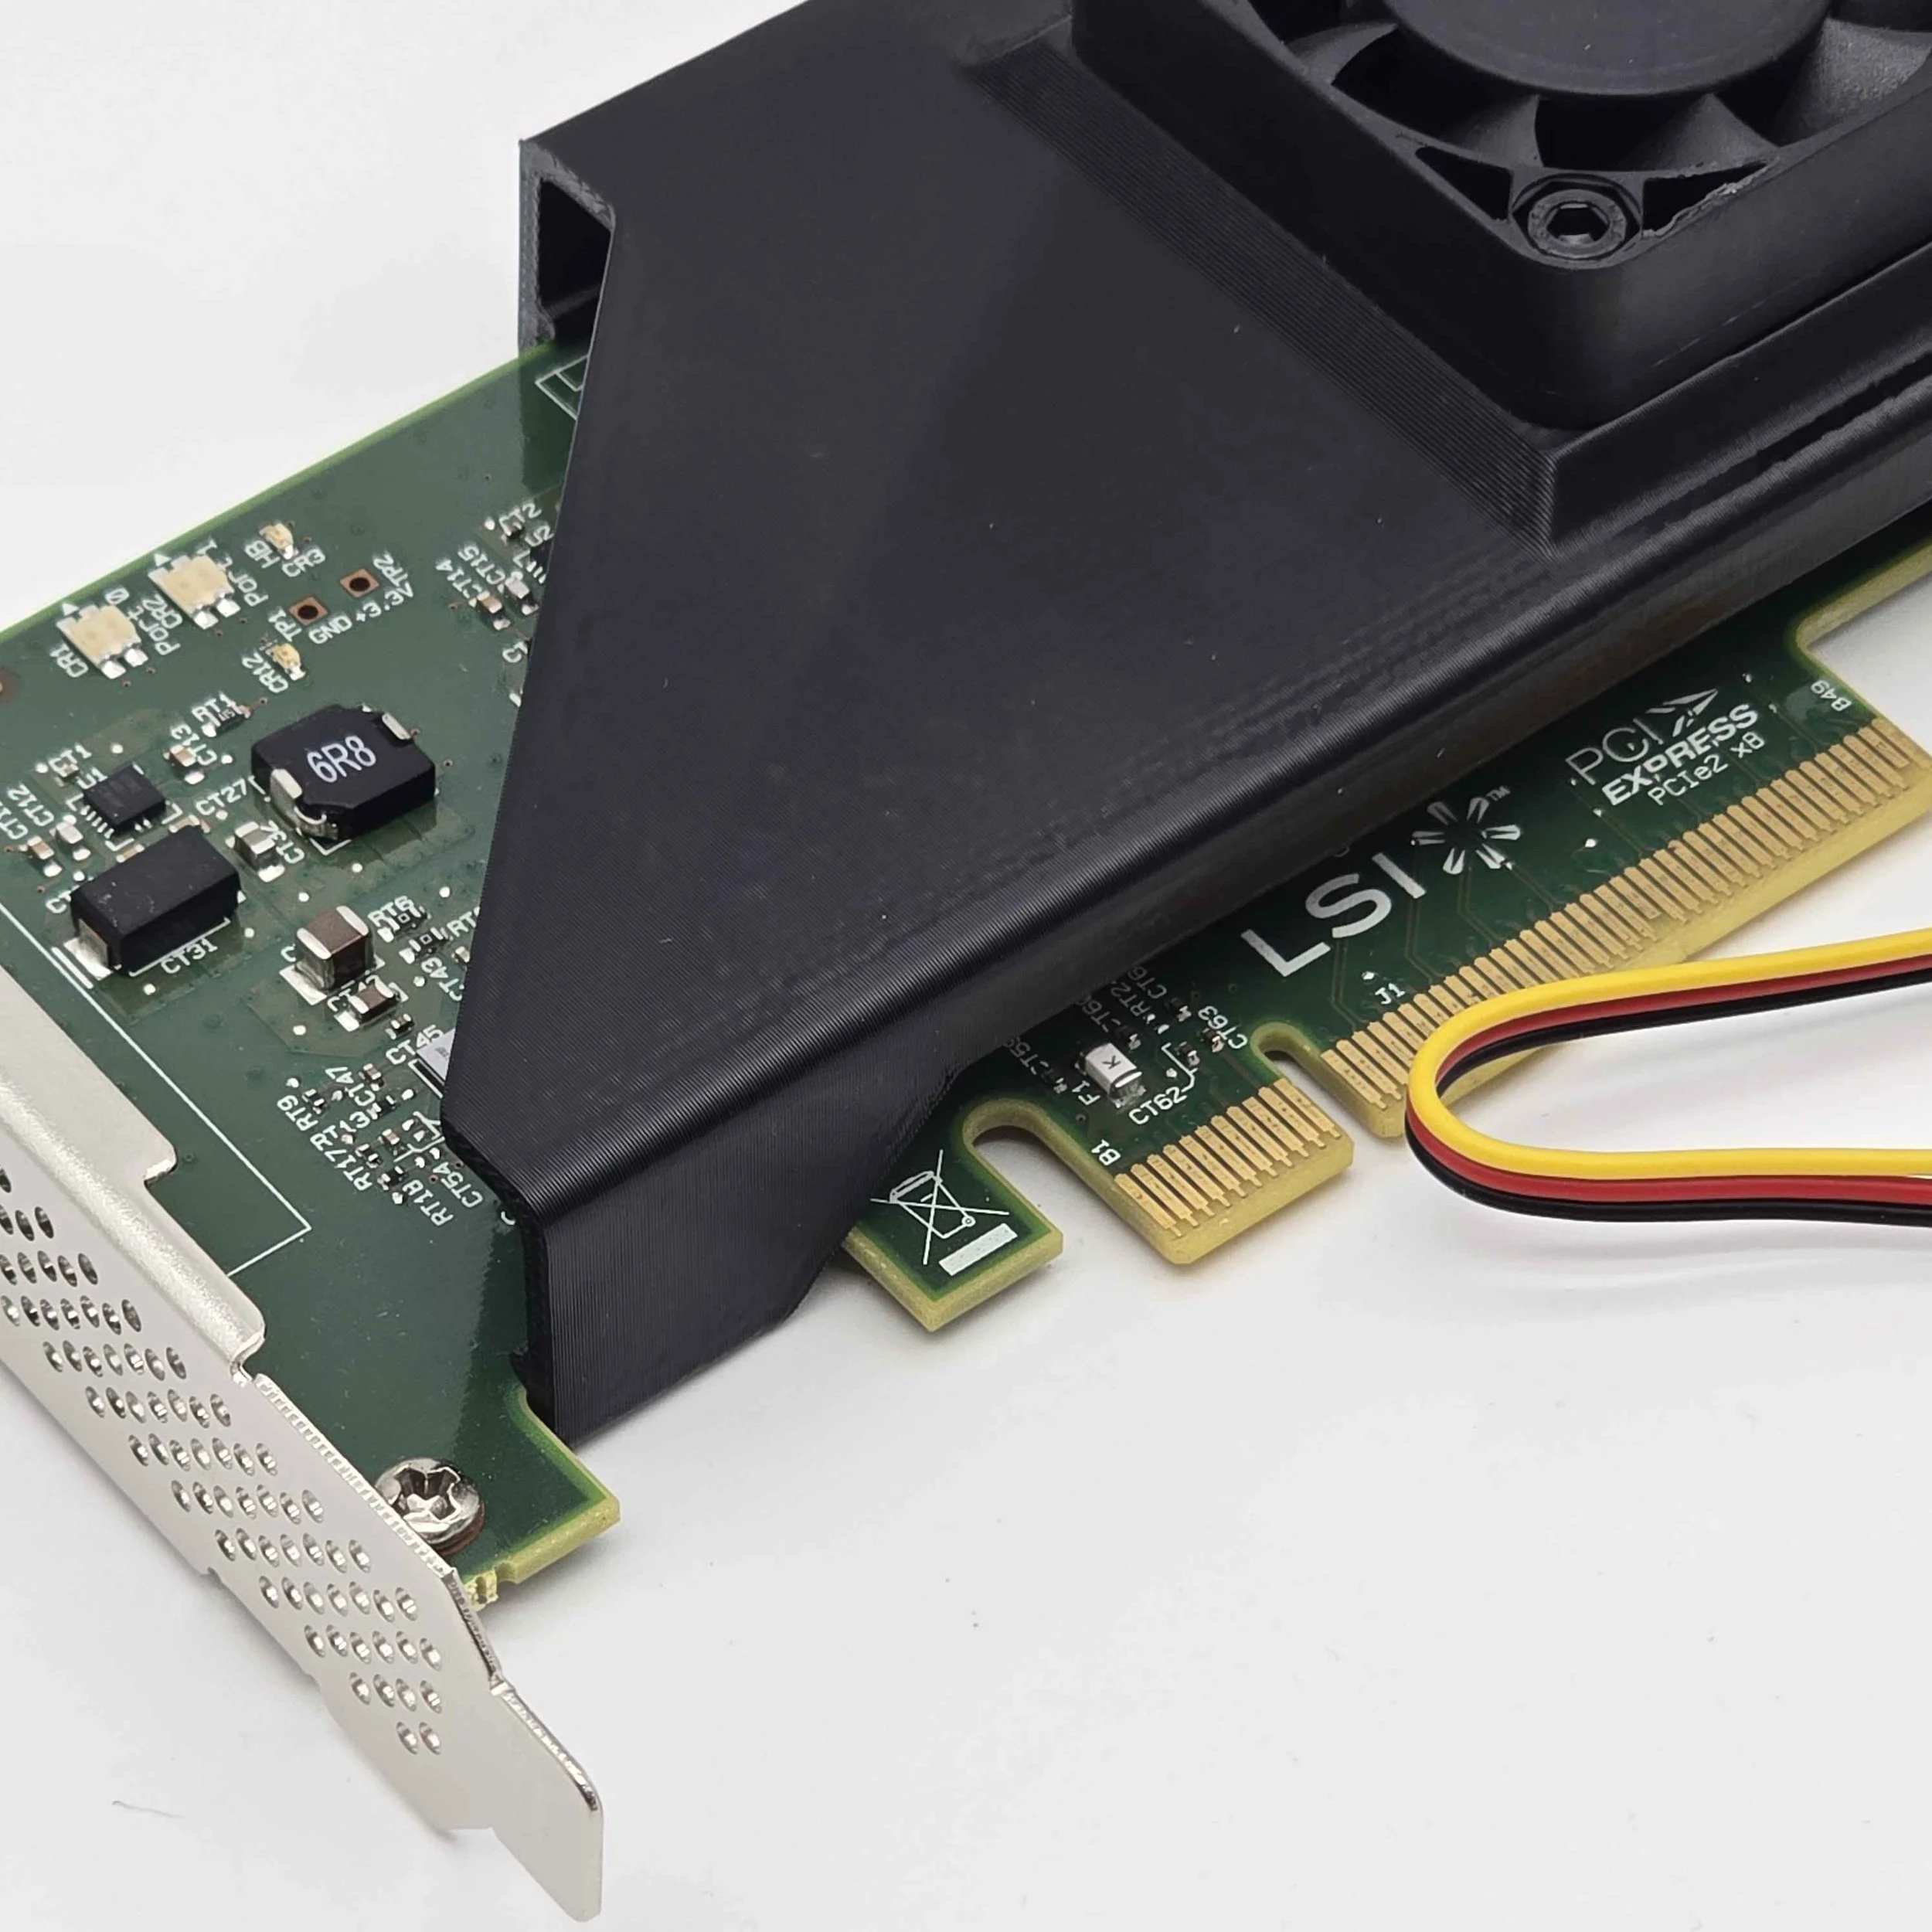 Image 4 of 7
 Image 5 of 7
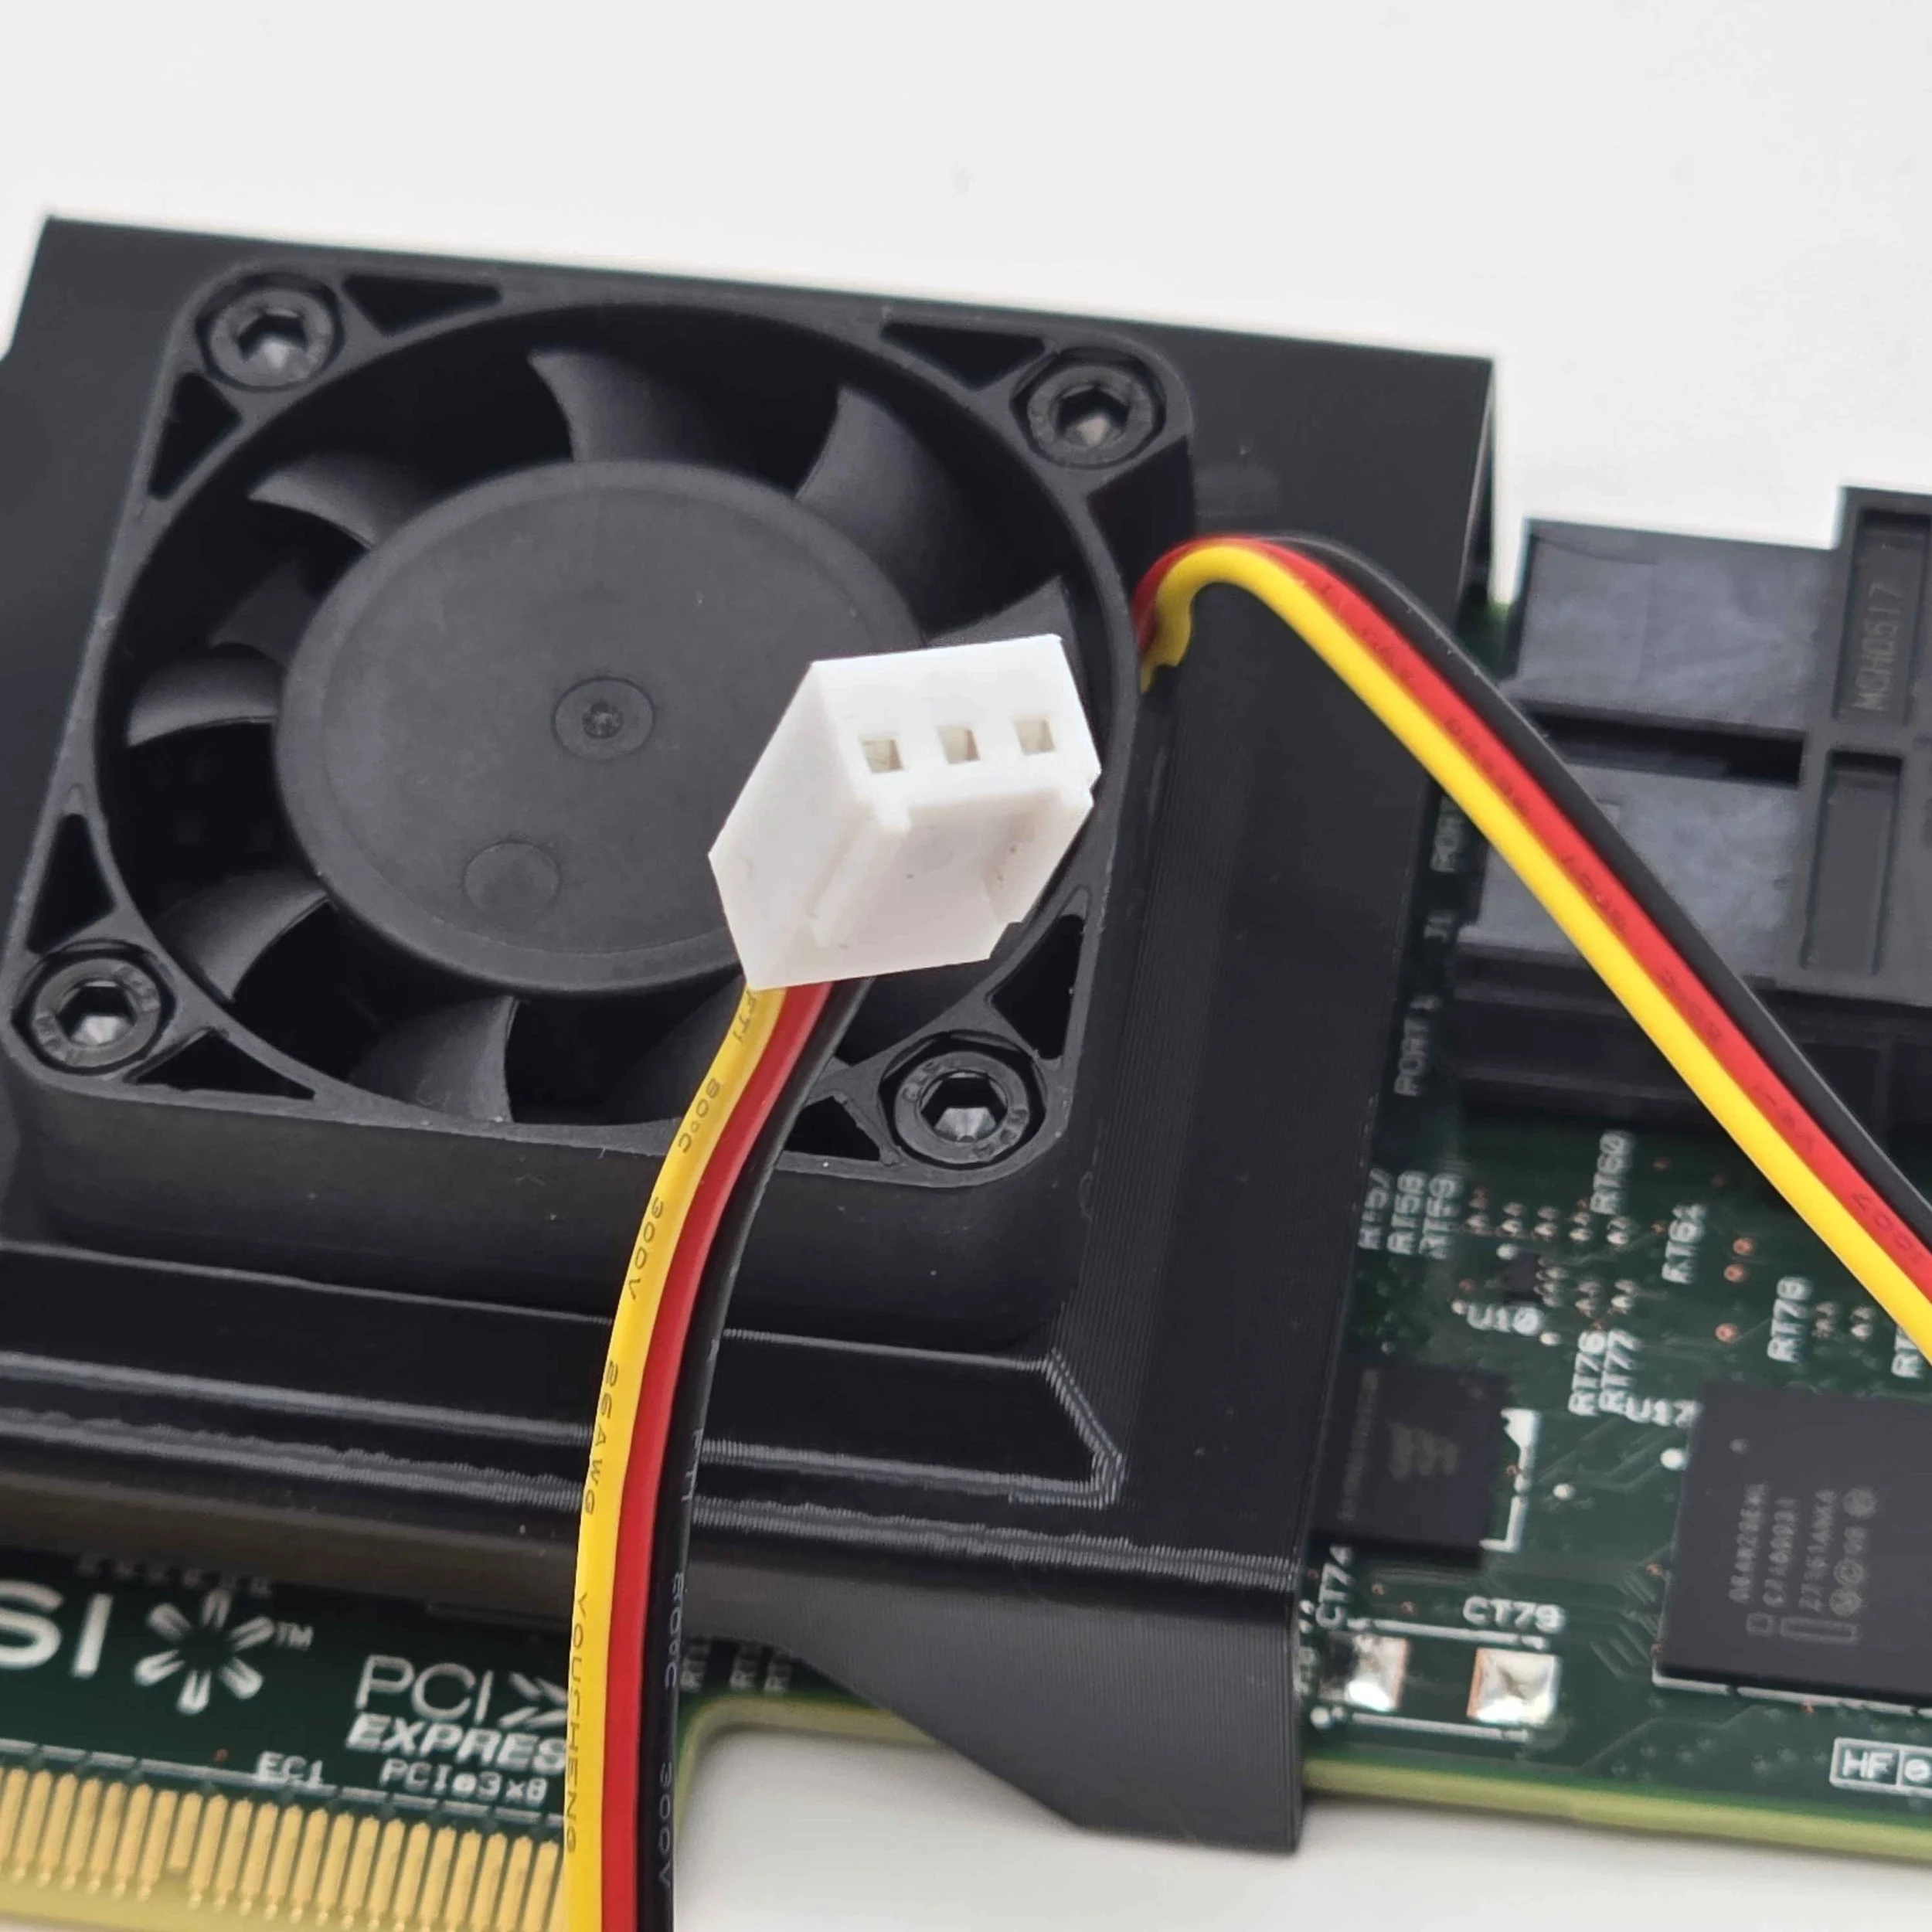 Image 6 of 7
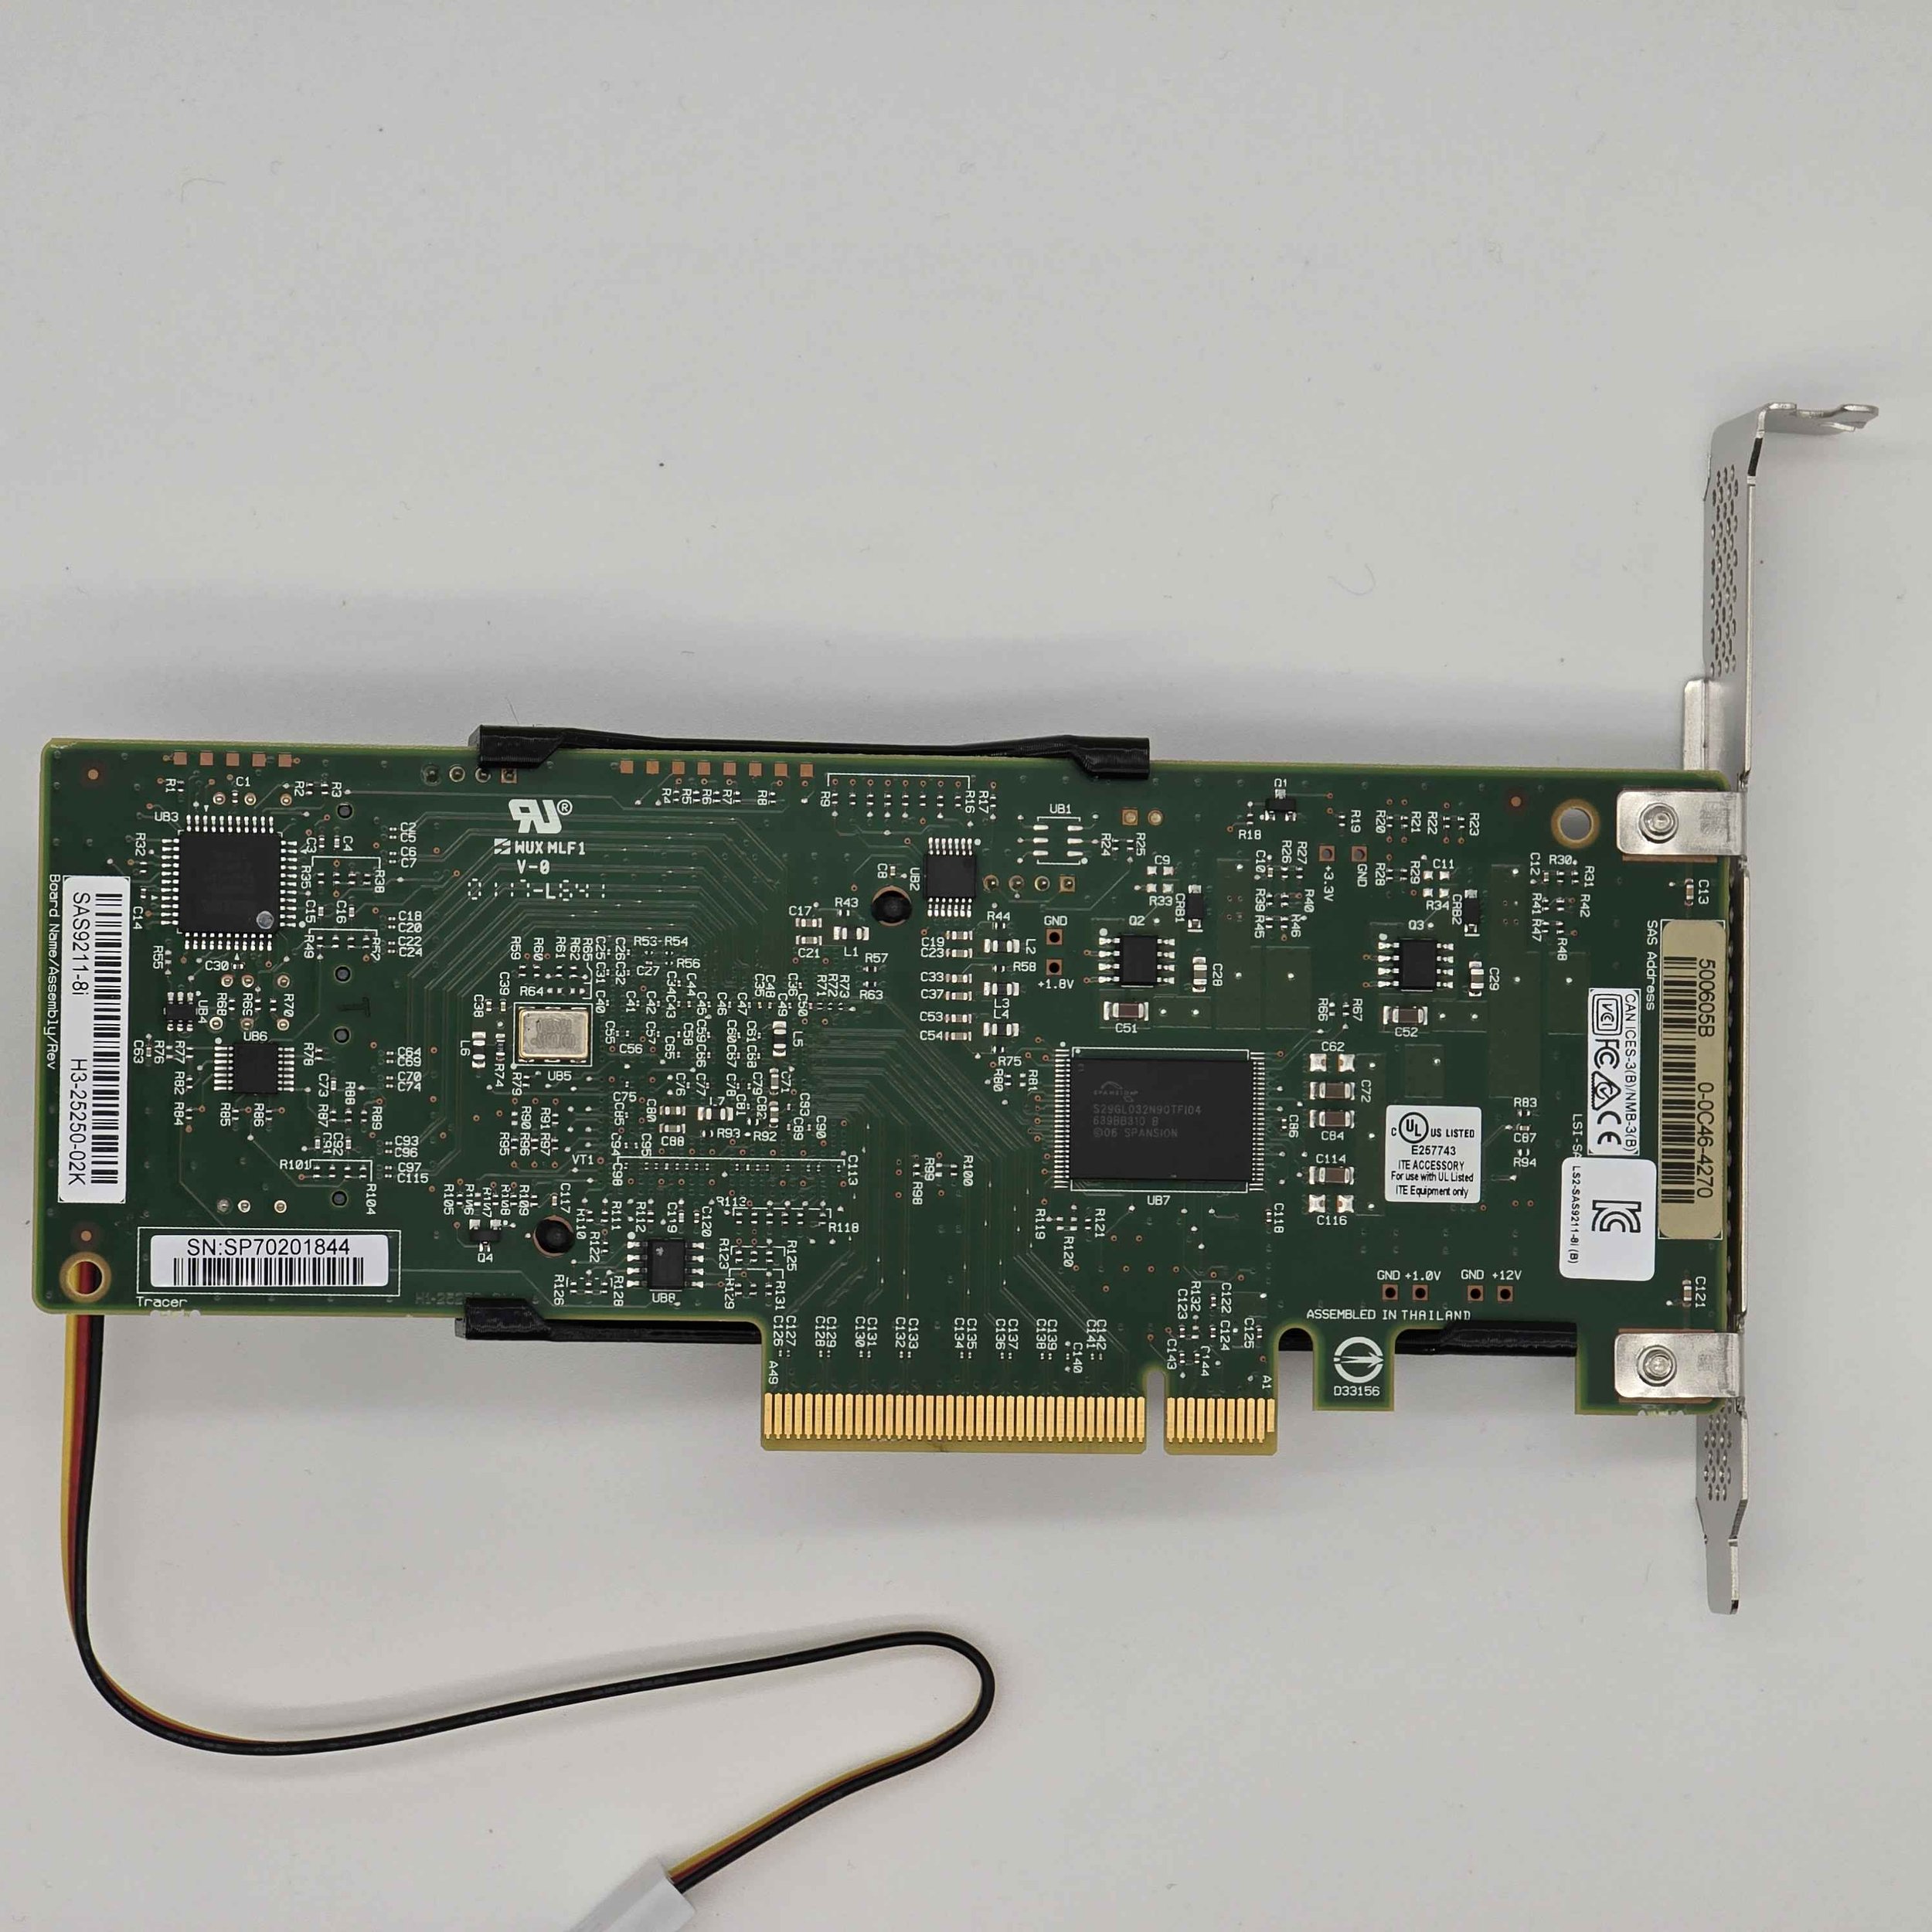 Image 7 of 7